
What you'll need:

- Wood, I picked out a soft wood that wouldn't be too hard to use a hand saw on.
- Wood glue
- Hand saw, I used a saw with fine teeth to get a smooth cut.
- Something to drill holes in the wood, I used a rotary tool.
- Wire, you want this to be fairly thick I used 16 gauge.
- Wire cutters.
- Needle nose pliers to make nice little loops at the top.
- Wood stain (optional, if you like the natural color of your wood stick with it.)
- Polyurethane or some sort of wood sealer.
- Fine bristle brush or a sponge brush. I used a sponge brush.
- Sand paper to smooth out the edges. I actually used an attachment on my rotary tool.
So first you want to figure out what size basket you need for your orchid. I made this for one of my mini Phaleanopsis orchids. I basically place my orchid in it's current pot and staked the wood up around and marked where on the wood I would cut it.


After cutting out your pieces you can decide to sand and smooth the edges if you desire.
Step 2 - Drilling holes
Now you have all of the pieces you want and it is time to drill the holes. My first piece served as a template for the rest of my pieces. I marked where I wanted the holes and then drilled. Then I just sat that piece on top of another unfinished piece and drilled through both pieces for consistent spacing. All of your pieces should have two holes except your small filler pieces and the two pieces that will be touching the bottom.


The picture on the left shows the bottom of my basket. Each of these only have two holes but the second to last level of the basket will have four holes (shown on the right).
Step 3 - Staining
If you like the color of your wood you can simply skip this whole step. The orchid I was planning to pot in this blooms a nice dark purple so I went with a dark color. Once you've picked out your stain, you'll want to get a fine bristled brush or a sponge brush to apply it. Stir the stain (if the instructions tell you to) then lightly dip your brush and paint the stain onto the wood. Then with the side of the brush that's dry wipe away the extra. Basically you don't want the wood to have excessively wet spots because they will stain more darkly than the rest. Most stains also have a recommended drying time that may differ depending on which one you went with.


Step 4 - Sealing
First thing you want to do with your polyurethane is stir it. My can had a pretty thick build-up on the bottom. Once you've stirred, simply apply a nice coat to each piece, smooth out any bubbles that might form. Check them as you let them dry. I rotated each piece a few times to make sure they wouldn't stick to my paper plate.
Step 5 - Assemble
Okay you've stained and sealed your wood now it's time to make your basket! I started with the two center pieces on the bottom. I took a piece of wire and made two 90 degree angles the distance of the two holes. Once that was done I ran it through the two center pieces and the piece they attached to ending it in a little loop.


The next part is pretty straight-forward. Take four pieces of wire and make a loop in one end. Then thread it through the two remaining bottom pieces and their corresponding holes next to the two you just attached, and just continue to stack your pieces up until you've used them all. Then make a loop in the wire to hold all of your pieces tight.

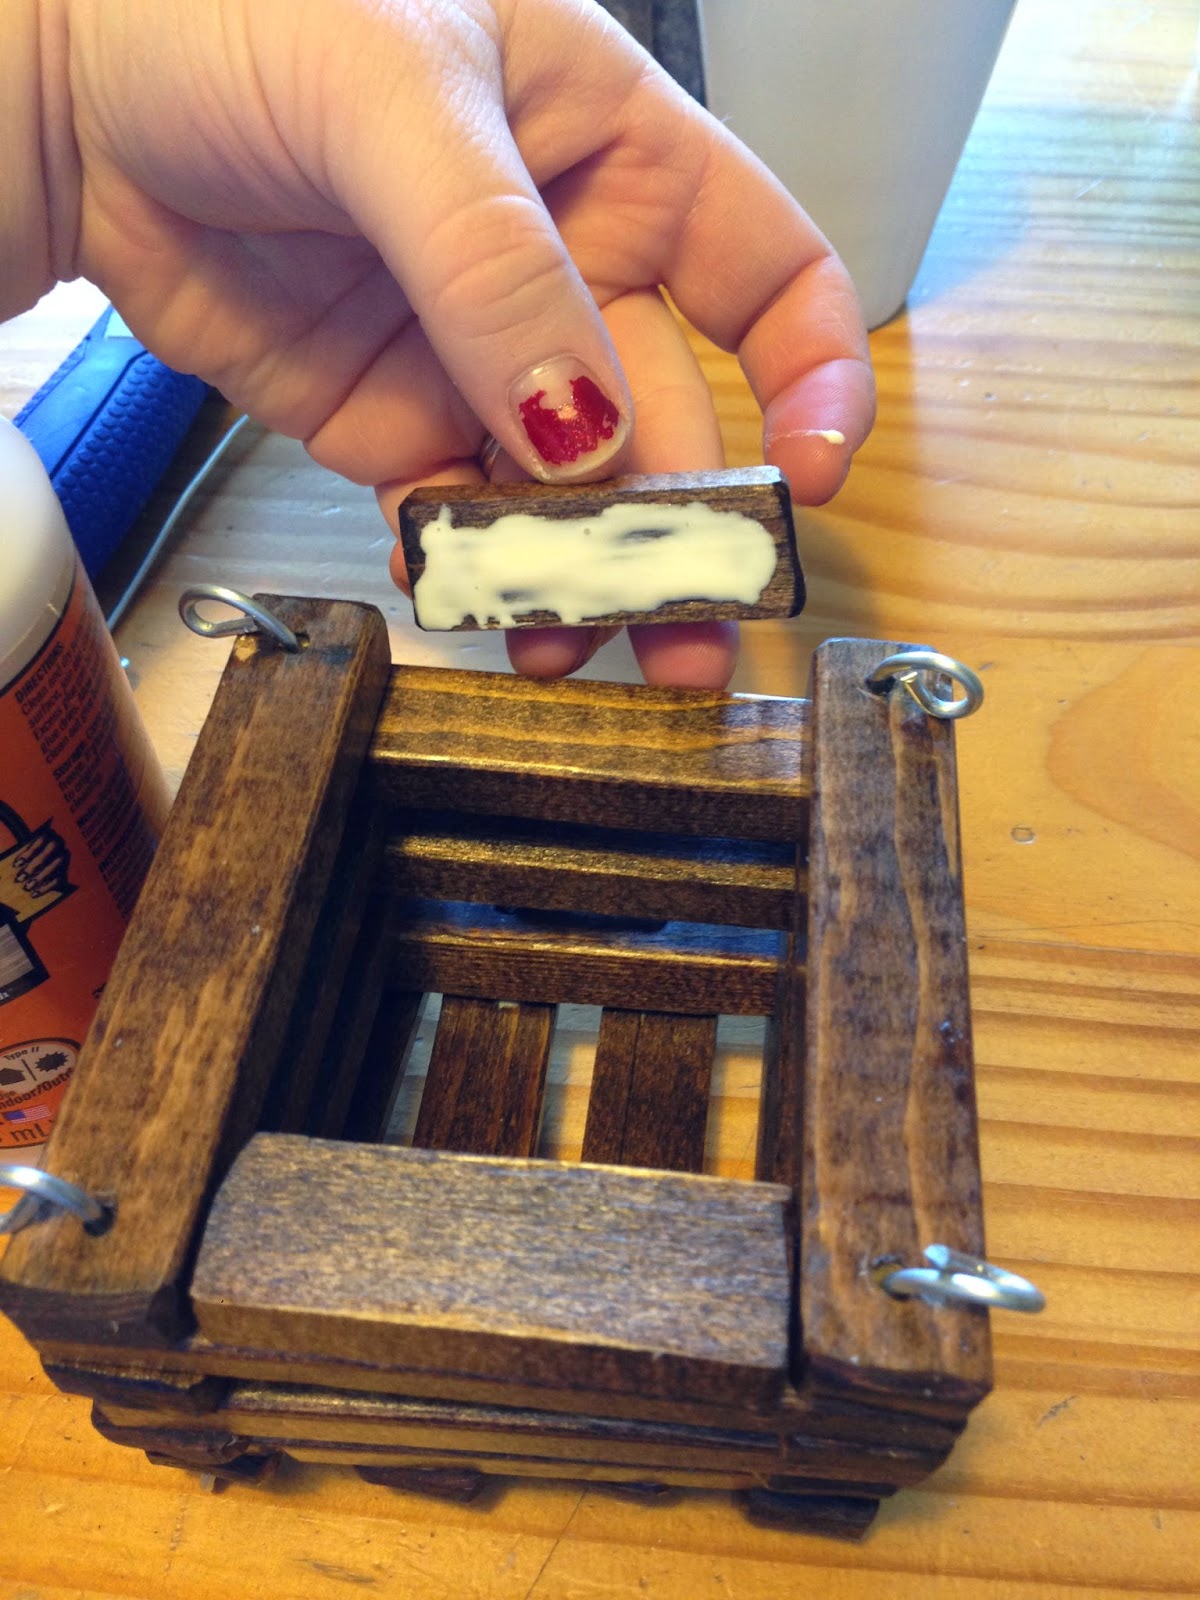
You are almost finished! The final part is to glue the two smaller finishing pieces in place. Read the label on your glue. Most wood glues will probably tell you to clamp it for 20 to 30 minutes. I placed a piece of wood across the two piece I was gluing and then placed heavy books on it. The glue should eventually dry clear (dependent on what type of wood glue you picked).

And it's finished!! I had a lot of fun making this, and I feel like my orchid will enjoy his new home.
Happy Planting!
No comments:
Post a Comment